Full documentation from inception of the idea to creation of the final project
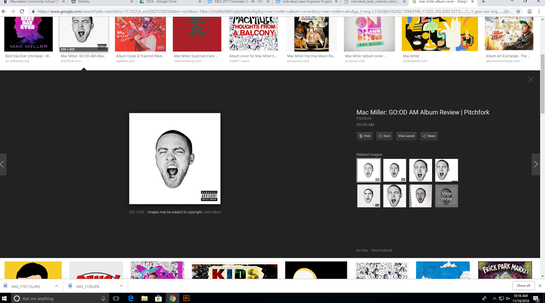
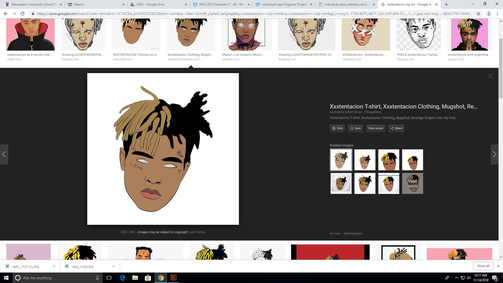
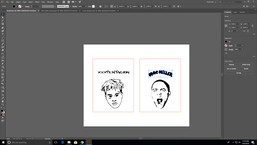
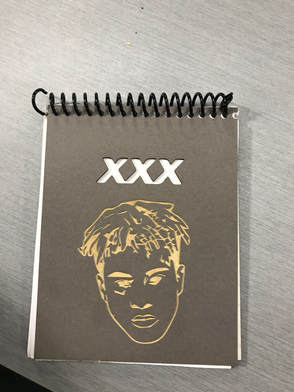
Notebook: When she told us about this project I was confused on what to do, I mean every project so far I have done My favorite rapper and then the idea came to mind. There is two sides so I choose to do two famous rappers that just recently passed that I liked a lot so I choose XXXTentacion and Mac Miller.
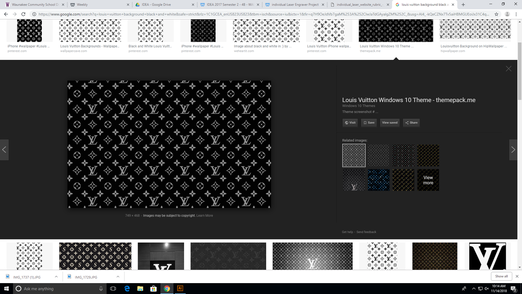
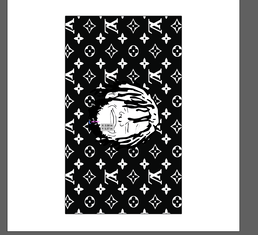
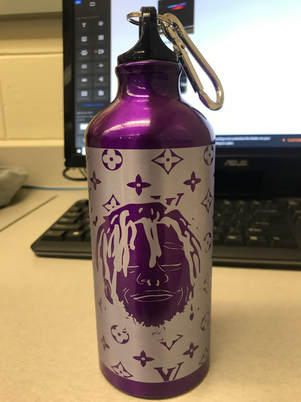
Water Bottle: I decided to do what I was gonna do for my notebook project but I couldn't do it right so I decided not too. It is a Louis Vuitton background where it fills the whole water bottle which would look so much better on the water bottle than the notebook and then I put my favorite rapper face over it to give it originality.
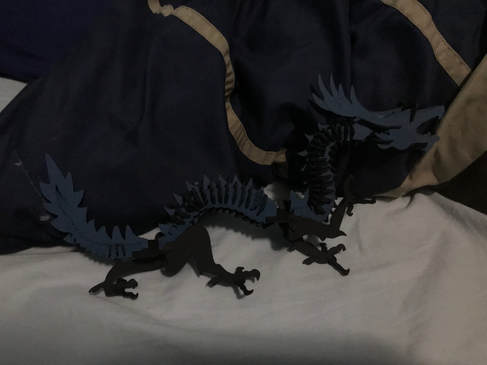
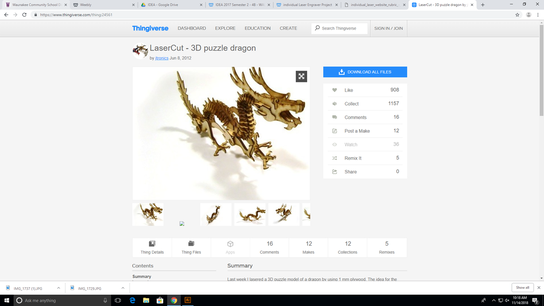
3D print: Everyone was doing little easy ones and I wanted to do something like hard and dope at the same time so I searched up Laser Animals on Thingsiverse and found a dragon that looked hard to put together which it was almost died trying.
Water Bottle: I decided to do what I was gonna do for my notebook project but I couldn't do it right so I decided not too. It is a Louis Vuitton background where it fills the whole water bottle which would look so much better on the water bottle than the notebook and then I put my favorite rapper face over it to give it originality.
3D print: Everyone was doing little easy ones and I wanted to do something like hard and dope at the same time so I searched up Laser Animals on Thingsiverse and found a dragon that looked hard to put together which it was almost died trying.
Images from designer notebook

Recipe
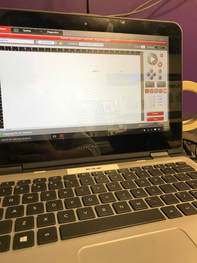
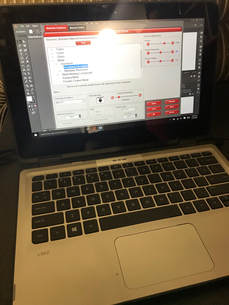
Open the Illustrator file on the computer that is set up with the laser. Then hit File, Print. Then click the printer called VLS6.60. Then hit Setup. Go to the Materials Tab and use the caliper to measure the thickness of the material. Find the material you are using.. Then click OK. Open the UCP software from the desktop for the laser. Then turn on the laser. Make sure exhaust is on (switch on the wall). Put the material in the laser and line it up with an edge. Your image should show on the screen. Use the Focus tool to move the laser to your material. Then line the laser up with one of the corners of your printing space on the material. Click the Relocation tool, and select the matching corner of your design to where you placed the laser on the material. Go back to the tool and check all for corners of your image to make sure it won’t print off of your material. Finally press the large green play button
Digital Screenshot
|
|
|
|
Screenshots using UCP/Illustrator
Using the Laser
|
|
|
|
|

|
Final Project
|

|
|