Full documentation from inception of the idea to creation of the final project
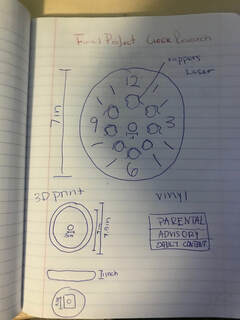
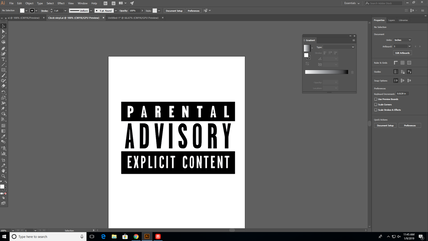
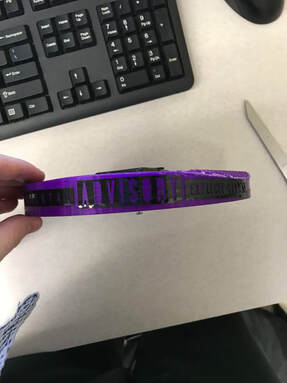
So Mrs. Proctor told us that we had to make a final project which was a clock and I was really confused at first. We had to use 3 machines in the innovation center to create this clock. I choose to use the vinyl cutter, laser, and the 3D printer, as always I'm putting rappers on on my clock for the laser. I'm 3D printing off the base that can hold the batter and the mattboard clock i'm creating. Then for the vinyl I am doing a Parental Advisory Explicit Content for the rapper because it ties into them.
Pictures From Sketch Book
Recipe
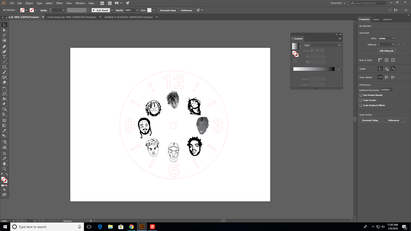
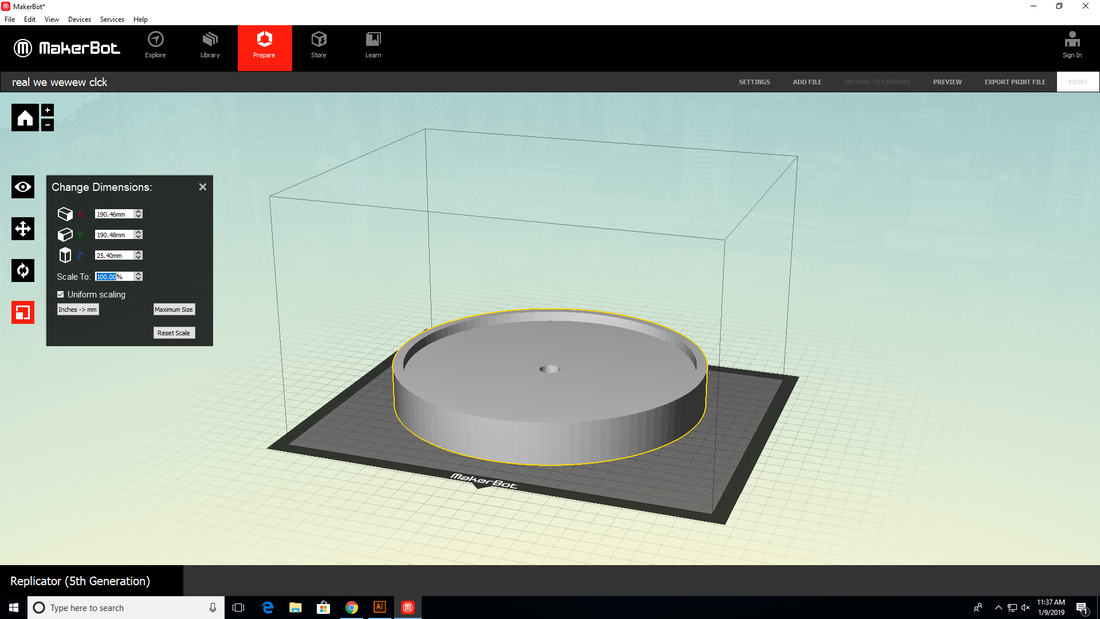
Your gonna have to use illustrator for the vinyl and laser it won't be very hard to do if you know what you are doing on illustrator, just make sure all of your dimensions are all the same they are important. Then for the 3D printer your gonna have to use inventor to create the base thing and make sure your dimensions match with your illustrator clock so its fits right same for the battery to fit. After that you will have to use makerbot for the 3D printer.
Screenshots showing digital documents
|
|
|
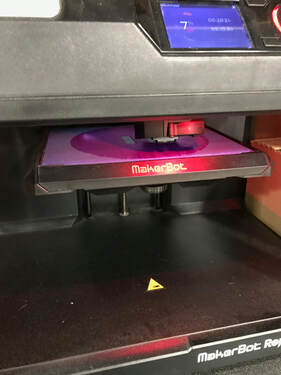
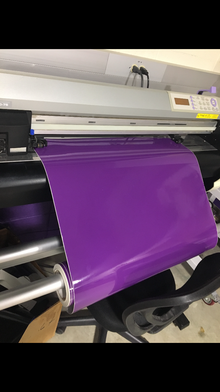
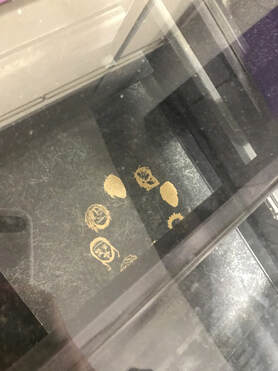
Pictures using the equipment
|
|
|
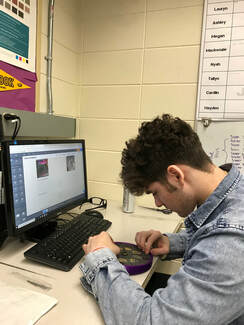
Photos working on project
|
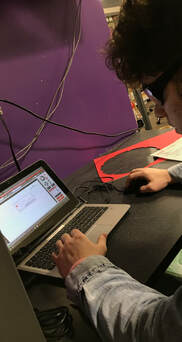
|
Photo of final project
|
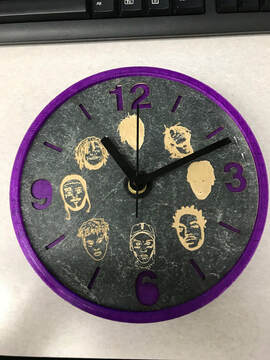
|
Summary of what I learned
I learned that all the machine we have learned to use to create one object you can use all of those machines to make one great thing. To me that is pretty cool and you can make anything you want and have anything you want to be on that object. Many great things can come from this class I have learned a lot about these machines and the cool things you can make using your mind your own Idea.
3 Items used in the innovation center
Laser
3D Printer
Vinyl Cutter
3D Printer
Vinyl Cutter
